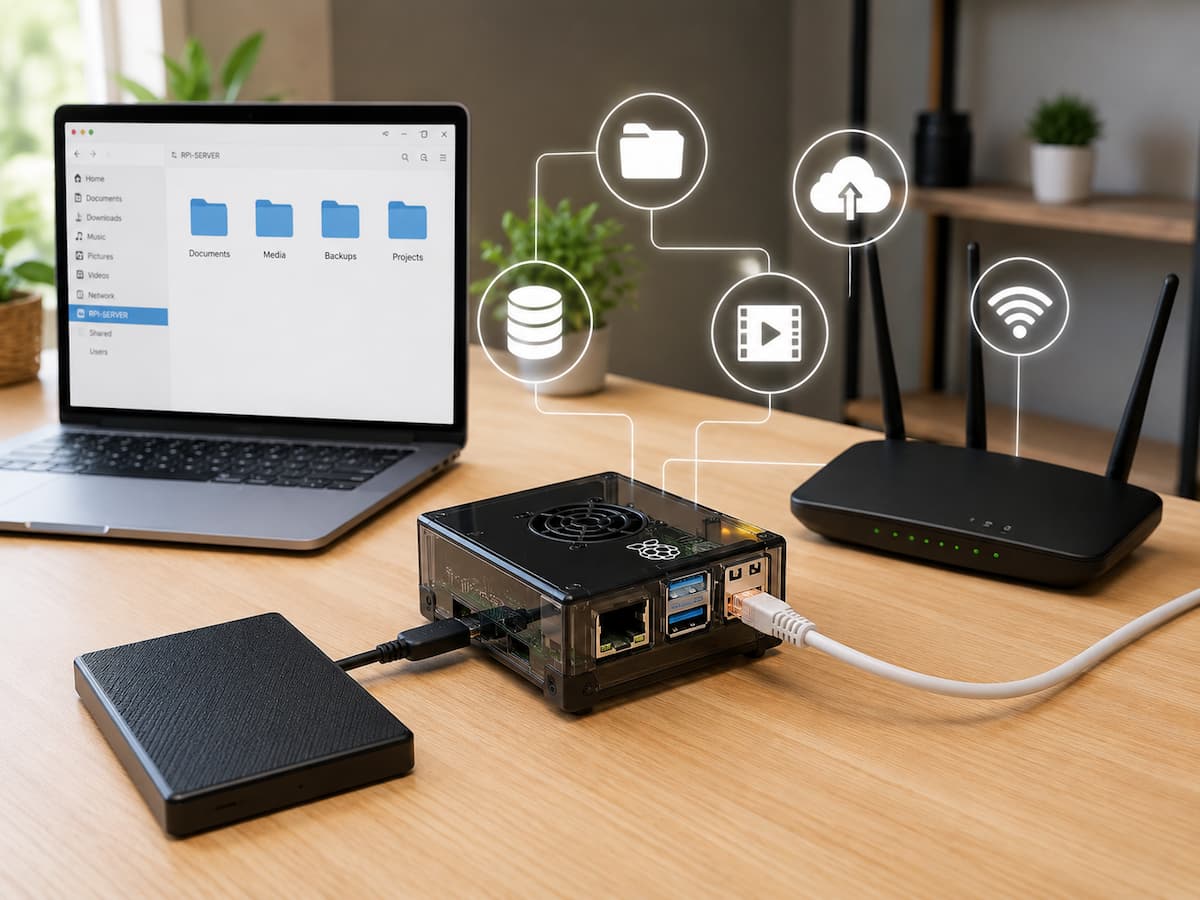
This guide walks you step-by-step through the process of setting up a Raspberry Pi home server. You will learn how to choose hardware, prepare the operating system, connect storage devices, configure the network, improve security, and maintain the server. Whether you want to learn new technical skills or create a practical storage solution, this guide will help you build a reliable server from scratch.
Choose a Raspberry Pi to Build a Home Server
The Raspberry Pi offers an affordable way to run services that normally require a desktop computer or a dedicated server. Unlike a standard computer, it consumes very little power and can run continuously, 24 hours a day, without significantly increasing your energy bill. This makes it ideal for tasks that need to be constantly available, such as file storage or media streaming.
Another advantage is the large Raspberry Pi community. Thousands of tutorials, forums, and open-source projects make it easier to troubleshoot and scale your server over time. Whether you want to host a private cloud, run a backup server, or experiment with Docker containers, you will find plenty of documentation and community support. Perhaps the biggest advantage is that the project grows with your experience. You don’t have to configure all the features right away. As you become more familiar with Linux administration and networking concepts, a basic server can gradually evolve into a more powerful system.
Popular Uses for a Raspberry Pi Home Server
| Purpose | Description |
|---|---|
| File Server | Store and share files across devices |
| Backup Server | Automatically back up computers and phones |
| Media Server | Stream music and videos around your home |
| Personal Cloud | Access files remotely |
| Learning Platform | Practice Linux and networking skills |
Choose the Right Hardware
Selecting suitable hardware makes the setup process smoother and ensures your server performs reliably. Although several Raspberry Pi models can function as servers, newer versions generally provide faster processors, more memory, and improved networking capabilities. If you expect multiple users or plan to run several applications simultaneously, choosing a model with additional RAM can improve responsiveness.
Reliable storage is equally important. The operating system can run from a microSD card, but storing valuable files on an external USB hard drive or solid-state drive is usually a better choice. SSDs offer faster performance and greater reliability for continuous use, while large hard drives provide more affordable capacity. You’ll also need a quality power supply and a stable network connection. Whenever possible, connect the Raspberry Pi to your router using Ethernet rather than Wi-Fi. Wired networking provides more consistent performance for file transfers and remote access.
Recommended Hardware
| Component | Recommendation |
|---|---|
| Raspberry Pi | Raspberry Pi 4 or Raspberry Pi 5 |
| Memory | 4 GB or 8 GB RAM |
| Storage | External SSD or USB hard drive |
| Operating System | High-quality microSD card or SSD |
| Network | Gigabit Ethernet connection |
| Power Supply | Official Raspberry Pi power adapter |
Prepare the Operating System
Before your Raspberry Pi can function as a server, you’ll need to install an operating system. Raspberry Pi OS Lite is a popular choice because it excludes the graphical desktop environment, reducing resource usage and leaving more processing power available for server applications.
The easiest way to install the operating system is by using Raspberry Pi Imager on your computer. This official utility downloads the latest operating system image and writes it directly to your microSD card or compatible storage device. During the installation process, you can configure several important settings in advance. These include assigning a hostname, enabling SSH for remote management, creating a username and password, and connecting to your Wi-Fi network if Ethernet isn’t available.
Installation Steps
- Download Raspberry Pi Imager.
- Select Raspberry Pi OS Lite.
- Choose your storage device.
- Configure hostname and user account.
- Enable SSH.
- Write the operating system image.
- Insert the storage into your Raspberry Pi.
- Power on the device.
Complete the Initial Setup
After the Raspberry Pi starts for the first time, verify that it has successfully connected to your home network. Logging in through SSH from another computer allows you to perform the remaining configuration without attaching additional peripherals.
The first tasks should include updating the operating system, installing the latest security patches, and confirming that your storage devices are recognized correctly. These updates often improve stability, fix software bugs, and enhance compatibility with newer hardware. It is also a good idea to assign the Raspberry Pi a static IP address. This ensures that its network address remains consistent, making it easier to access shared folders and remote management tools in the future.
Initial Configuration Checklist
- Log in using SSH.
- Update installed packages.
- Change default passwords if necessary.
- Verify network connectivity.
- Assign a static IP address.
- Confirm available storage.
Connect and Configure Storage
Your home server becomes much more useful once you connect reliable storage. While the operating system often runs from a microSD card, you should generally store important data on an external drive. External SSDs offer excellent speed and reliability, while larger USB hard drives provide greater storage capacity for backups and media libraries.
After connecting the drive, verify that the Raspberry Pi detects it correctly. The storage should then be formatted with a suitable Linux-compatible file system if it hasn’t already been prepared. Once mounted, create organized folders for documents, backups, photos, videos, and shared files. Planning your folder structure early makes future management much easier. Separating personal files, media collections, backups, and application data reduces confusion as your server grows and additional users begin accessing shared resources.
Suggested Folder Structure
| Folder | Purpose |
|---|---|
| Backups | Automatic computer backups |
| Documents | Shared work files |
| Photos | Personal image library |
| Media | Movies and music |
| Public | Shared household files |
Set Up File Sharing
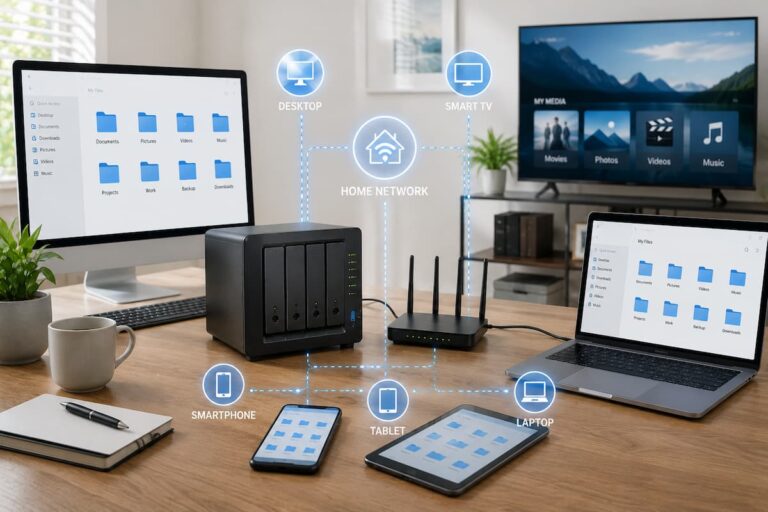
Once your storage is ready, the next step is making those files available to other devices on your home network. File sharing allows computers, smartphones, tablets, and even smart TVs to access the same folders without constantly moving files using USB drives. For homes with Windows computers, the SMB (Server Message Block) protocol is the most common choice because it is built into Windows and supported by macOS and many Linux distributions. If your home mainly uses Linux systems, NFS (Network File System) is another efficient option. Many NAS devices also support both protocols, giving you flexibility as your network grows.
Create separate shared folders for different purposes instead of placing everything into one location. For example, a public folder can be available to everyone in the household, while personal folders require a username and password. Organizing shares from the beginning makes permissions easier to manage later.
Common Shared Folders
| Shared Folder | Recommended Access |
|---|---|
| Family Photos | Read and Write |
| Media Library | Read Only |
| Backups | Restricted Access |
| Documents | User-Based Permissions |
| Public Downloads | Shared Access |
Enable Remote Access Safely
A home server becomes even more useful when you can access it away from home. Remote access allows you to retrieve files, upload documents, or manage the server while traveling. However, convenience should never come at the expense of security.
The safest approach is to use a Virtual Private Network (VPN). A VPN creates an encrypted connection between your device and your home network, allowing you to access your server without exposing file-sharing services directly to the internet. Some users choose cloud-based remote management services or dynamic DNS solutions that simplify connecting to their home network. Regardless of the method you choose, always protect remote access with strong passwords and, when available, multi-factor authentication.
Remote Access Options
| Method | Security | Ease of Setup |
|---|---|---|
| VPN | Excellent | Moderate |
| Cloud Management | Very Good | Easy |
| Direct Port Forwarding | Lower | Moderate |
Improve Server Security
Even a small home server deserves proper security. Because it stores personal files, family photos, backups, and possibly sensitive documents, protecting it should be a priority from the beginning.
Start by using strong, unique passwords for every account. Disable services you don’t need, keep the operating system updated, and review installed software regularly. If SSH is enabled, consider using SSH keys instead of passwords for remote administration. A firewall adds another layer of protection by limiting unnecessary network traffic. Many Linux distributions include simple firewall tools that allow only approved connections while blocking everything else.
Basic Security Checklist
- Install software updates regularly.
- Use strong passwords.
- Enable SSH key authentication if possible.
- Disable unused services.
- Enable a firewall.
- Create separate user accounts.
- Review server logs periodically.
Create Automatic Backups
A server is useful only if the stored data remains available when needed. Hard drives can fail unexpectedly, accidental file deletion happens, and software problems occasionally occur. Regular backups reduce the risk of permanent data loss.
Whenever practical, follow the widely recommended 3-2-1 backup strategy. Keep three copies of important files, store them on two different types of media, and maintain one copy outside your home. Your Raspberry Pi server can become one part of this larger backup strategy rather than the only place where important files exist. Many backup applications allow automatic scheduling, making it easy to protect your files without remembering to start backups manually.
Simple Backup Plan
| Copy | Location |
|---|---|
| Original | Computer |
| Second Copy | Raspberry Pi Server |
| Third Copy | External Drive or Cloud Storage |
Monitor Performance and Storage
As your server stores more files and begins running additional services, monitoring its performance becomes increasingly important. Monitoring processor usage, memory consumption, storage capacity, and temperature helps identify potential problems before they affect reliability.
If storage begins filling up, performance may gradually decline and backups may fail unexpectedly. Monitoring available disk space allows you to expand storage or remove unnecessary files before reaching critical limits. Temperature monitoring is especially important for Raspberry Pi systems that run continuously. Good airflow and an appropriate case help prevent overheating during extended workloads.
Items Worth Monitoring
- CPU usage.
- Memory utilization.
- Storage capacity.
- Drive health.
- Network activity.
- Operating temperature.
Maintain Your Home Server
Regular maintenance helps keep your Raspberry Pi server reliable for years. Fortunately, most maintenance tasks require only a few minutes each month. Updating software, checking storage health, reviewing backups, and cleaning dust from the device can prevent many common issues.
If you add new services over time, document your configuration changes. Keeping simple notes about installed software, user accounts, and storage locations makes troubleshooting much easier in the future. As your needs grow, you may eventually upgrade to larger storage drives, additional memory, or a more powerful server. A well-organized Raspberry Pi setup makes these future upgrades much easier because it already structures your files and services logically.
Monthly Maintenance Checklist
- Install operating system updates.
- Verify backup completion.
- Review available storage.
- Check drive health.
- Clean dust from the case.
- Test remote access.
- Review security settings.
Conclusion
Building a home server with a Raspberry Pi is one of the most affordable and rewarding ways to learn about networking, Linux, and self-hosting. Despite its small size, the Raspberry Pi can handle many daily tasks, such as file sharing, automatic backups, media streaming, and personal cloud storage. Starting with a simple configuration allows you to gain experience and offers ample room for future expansion.
The key to success lies in choosing reliable hardware, effectively planning your storage space, ensuring secure remote access, and performing regular maintenance. Small improvements, such as using Ethernet instead of Wi-Fi, keeping software up to date, and creating scheduled backups, can significantly improve reliability without increasing costs.
With experience, your Raspberry Pi server can grow into a powerful platform that supports more services, automation tools, containers, and smart home applications. By following the steps in this guide and employing good security practices, you will have a reliable home server that will serve your family for years to come.
FAQs
1. Which Raspberry Pi is best suited for use as a home server?
The Raspberry Pi 4 and Raspberry Pi 5 are the best choices for most home server projects. All three offer a Gigabit Ethernet port, a USB 3.0 port for fast external storage, and sufficient computing power for file sharing, media streaming, backups, and personal cloud services. If you expect multiple users to use the server simultaneously, or if you plan to run Docker containers or multiple applications, the version with 8 GB of memory offers more long-term flexibility.
2. Can I use a microSD card instead of an external SSD?
Yes, but it is generally recommended to use a microSD card only for installing the operating system. External SSDs and hard drives are better suited for storing important files, as they are designed for heavier workloads and have a larger capacity. Separating the operating system from the data also simplifies future upgrades and reduces the risk of file loss when the operating system needs to be reinstalled.
3. Does the Raspberry Pi home server need an internet connection?
No. The Raspberry Pi home server can operate entirely on your local network. As long as the server and client devices are connected to the same router or switch, file sharing, backups, and media streaming can work without an internet connection. An internet connection is primarily used for downloading software updates, installing applications, or enabling secure remote access when you are away from home.
4. Is Ethernet better than Wi-Fi for a home server?
Yes. Ethernet offers faster, more stable, and more reliable performance than Wi-Fi. It reduces latency, minimizes interference, and ensures consistent speeds during large file transfers and backups. Although Wi-Fi is perfectly adequate for light use, a wired Ethernet connection is strongly recommended for servers that run continuously or transfer large amounts of data.
5. Can I play movies from my Raspberry Pi server?
Absolutely. Many people use Raspberry Pi servers to store and play movies, TV series, music, and photos at home. Specific performance depends on the chosen Raspberry Pi model, storage speed, network connection, and media server software. For standard home use, a Raspberry Pi 4 or newer model is perfectly suitable for media streaming.
References
- Raspberry Pi Documentation – https://www.raspberrypi.com/documentation/
- Raspberry Pi OS Documentation – https://www.raspberrypi.com/software/
- Samba Official Documentation – https://www.samba.org/
- OpenSSH Documentation – https://www.openssh.com/
- Debian Documentation – https://www.debian.org/doc/
- Linux Foundation – Linux System Administration Resources – https://www.linuxfoundation.org/
- NIST Computer Security Resource Center – https://csrc.nist.gov/
- OpenVPN Documentation – https://openvpn.net/